
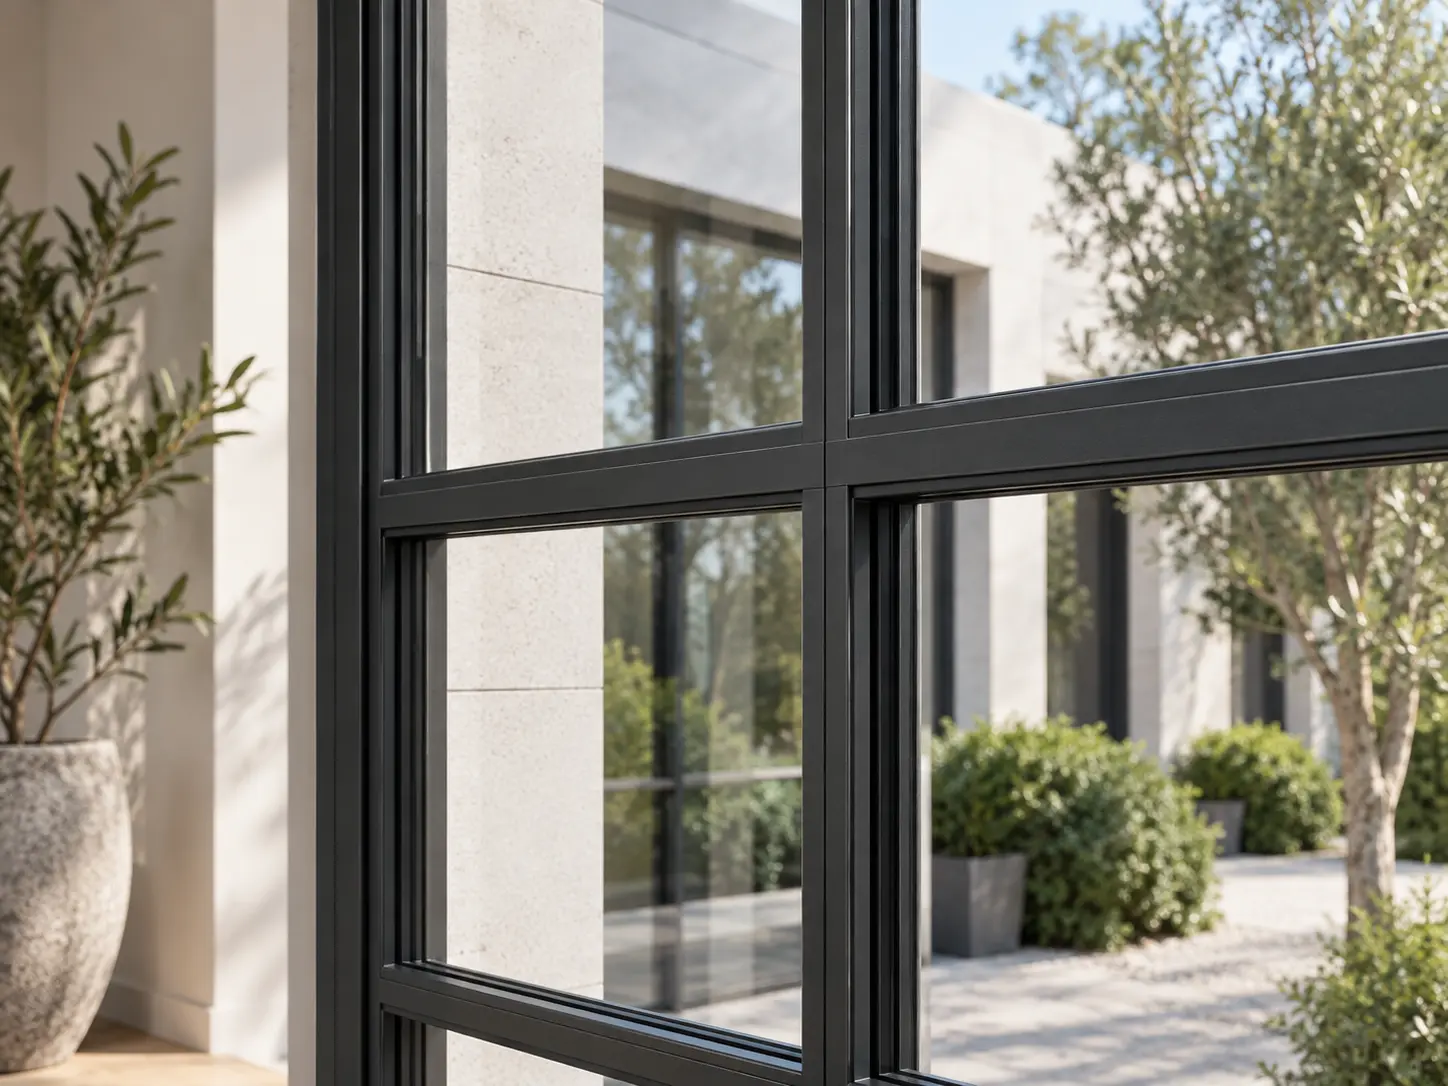
Clean glazing is not only about choosing the thinnest frame. Alignment, frame position, floor levels and surrounding finishes all affect how calm and considered an elevation feels.
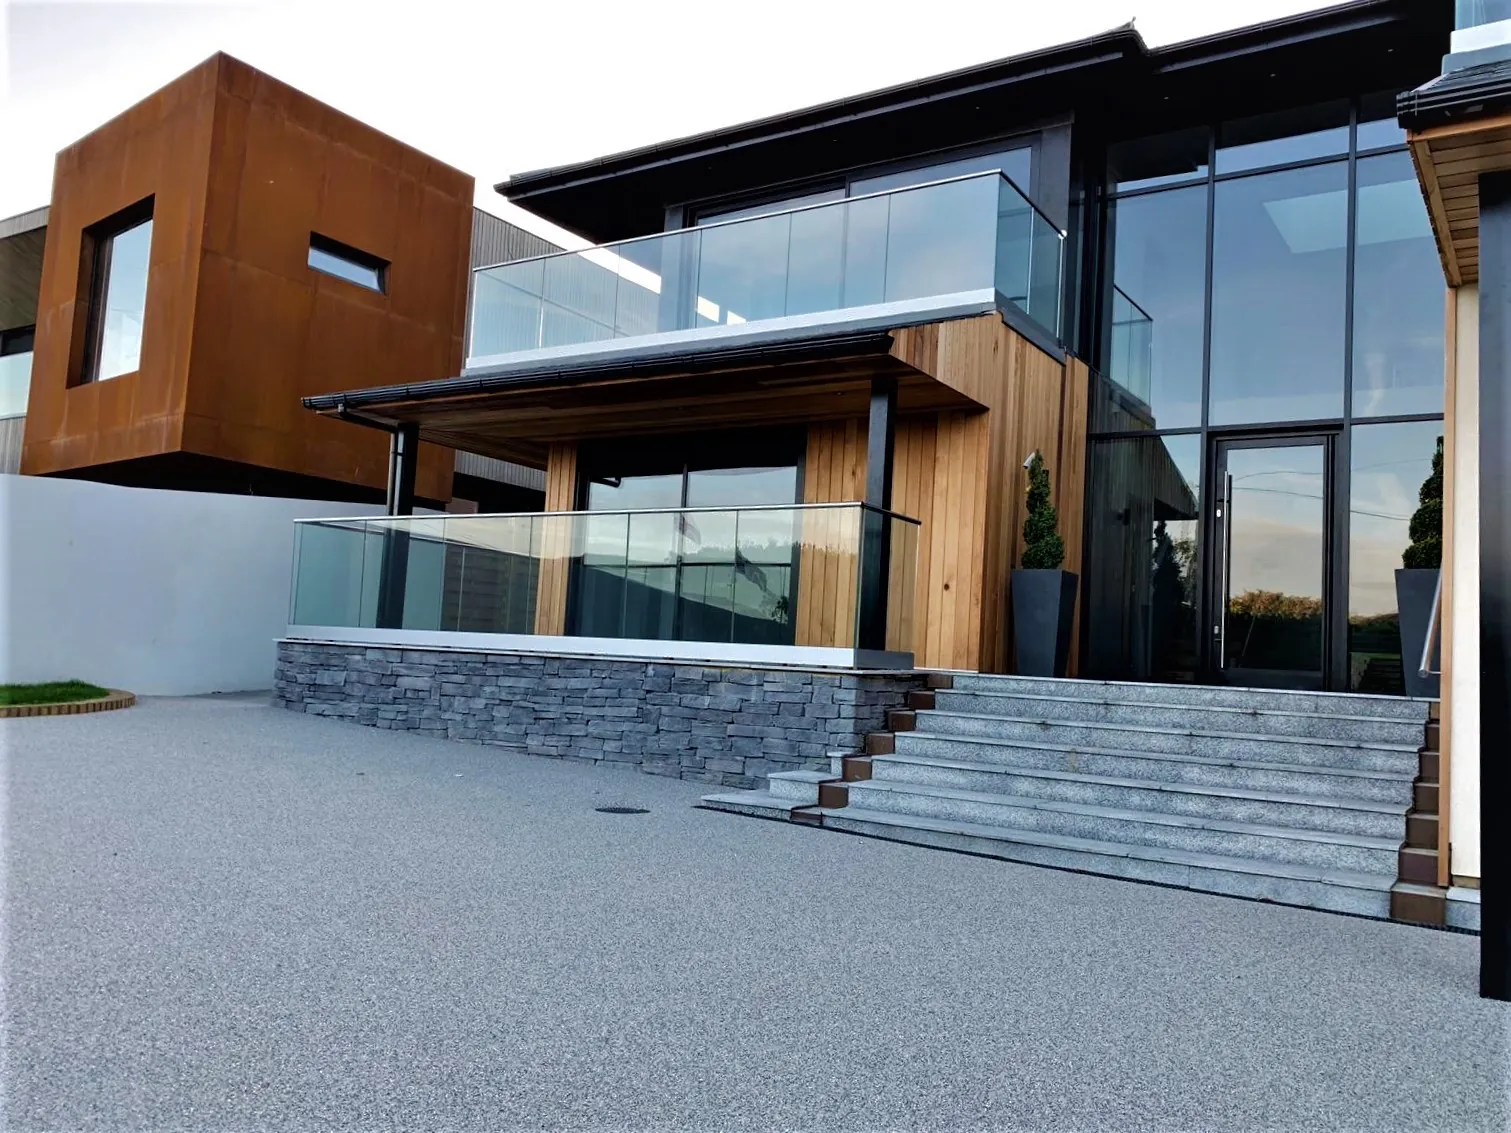
Decide what should be visible
Clean sightlines do not mean hiding every piece of aluminium. They mean that the visible parts feel deliberate. Start by identifying the centre interlocks, outer frames, mullions and threshold edges that will remain in view after plaster, cladding and flooring are complete.
A frame can sometimes be recessed behind a reveal, but that decision changes the fixing zone, waterproofing and access for installation. Concealment should be detailed, not assumed.
Use the whole elevation
Glazing looks calmer when its divisions relate to the building. Align mullions with columns, wall returns, rooflights or neighbouring window centres where possible. Keep head and sill lines consistent across openings that are intended to read together.
Inside, check where frame lines meet ceilings, kitchen units and floor joints. A five-centimetre adjustment to an opening can sometimes remove an awkward sliver of wall or allow a mullion to line through with a structural element.
Thin is not the only route to minimal. Good alignment, fewer arbitrary divisions and consistent detailing often have a greater effect than reducing one profile by a few millimetres.
Conceal outer frames with care
Minimal sliding systems can allow portions of the outer frame or track to sit behind surrounding finishes. The frame still needs drainage, fixing, tolerances and future access. Plaster or cladding should not block drainage paths or make glass replacement impossible.
Agree the sequence with the main contractor. Some finishes can be completed only after the frame is installed; others need preparation beforehand. A simple junction section should show who provides each membrane, trim and closure.
Resolve the base before the floor is poured
The bottom of an opening is where architecture and water management meet. Internal screed, floor finish, track, external paving and drainage must share a coordinated level. Recessing the track without allowing for water discharge can create a neat drawing and a poor building detail.
Use sections through fixed panels, opening panels and corners because the frame depth may change. Include falls, channel positions and the support beneath the threshold.
Handles, hinges and colour
Hardware is small but visually prominent. Select handle shape and colour alongside the frame finish. Concealed hinges and integrated handle options may suit a minimal elevation, but they must also be practical for the sash size and the people using the room.
Dark powder-coated frames tend to recede against the view. Lighter colours can connect more closely with internal finishes. Dual-colour options may help when the exterior and interior palettes differ, subject to the chosen system.
Use junction drawings, not just product sections
- Head detail showing structure and deflection allowance.
- Jamb detail showing frame position and internal reveal.
- Sill detail showing support, floor levels and drainage.
- Corner and mullion details where systems meet.
- Access zone for installation and future glass replacement.
- Finished elevation with every visible frame line.
Product drawings explain the frame. Project drawings explain how the frame belongs to the building. Both are needed to turn a slim aluminium system into a genuinely clean finished elevation.